After too much stress and wear, your comfortable camping chair might just give in and tear apart. And that is the last thing you want in your camping trip to be ruined. You won’t be able to enjoy that sunset view on a torn camping chair, would you?
But don’t just throw out your camping partner yet. We bring you a simple and easy hack to repair your torn camping chair.
Table of Contents
What You Need
The best thing about this method is that it’s a very cheap fix and the items you need would probably be lying around in your house.
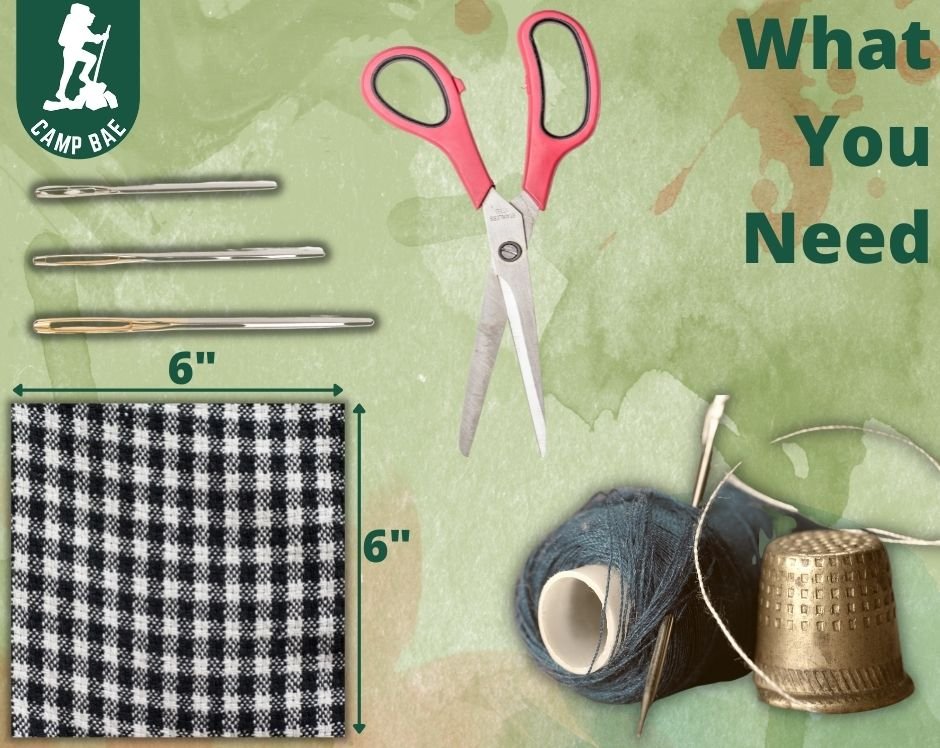
So, what you need to repair your camp chair is:

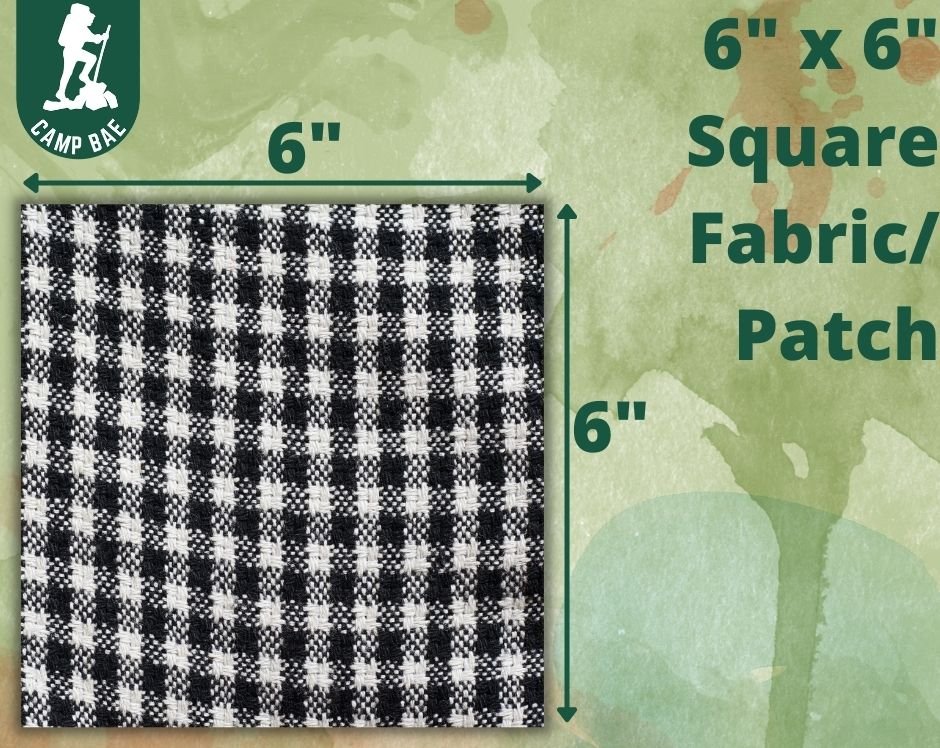
- A sturdy square fabric of 6″ x 6″
- A strong needle to get through the camping chair fabric easily.
- A thick upholstery thread to sew up the patch (normal thread is good too).
- A pair of scissors to do some chip chopping
- A thimble or any hard object to press the needle against
- A square ruler, cutting mat, and rotary blade are nice to have but not required.
Repairing a Torn Camping Chair
Why buy a new camping chair when you can easily fix it and still get the same comfort you previously had. Just follow the steps and you are good to go:
Inspect the Chair Frame
Check the supporting structure to see if it is firm or floppy. If it isn’t firm, tighten it with a screwdriver for the screw or a wrench for the bolt. It will make the frame sturdy again. After adjusting the chair frame, it’s time to sew the ripped section back together with a homemade patch.
Cutting the Patch

Preferably using a denim cloth, cut it into a 6″ x 6″ in size. It’s best if you can find the patch in the same color as your camping chair. To begin, draw a half-inch boundary from the edge with fabric chalk. In this scenario, a square ruler comes in handy for precise measurements. Then, using a scissor or a rotary blade, cut it as needed. To reduce bulk, each corner can be cut off at a 45° angle. No need to worry about a perfect patch.
Put the Patch Together

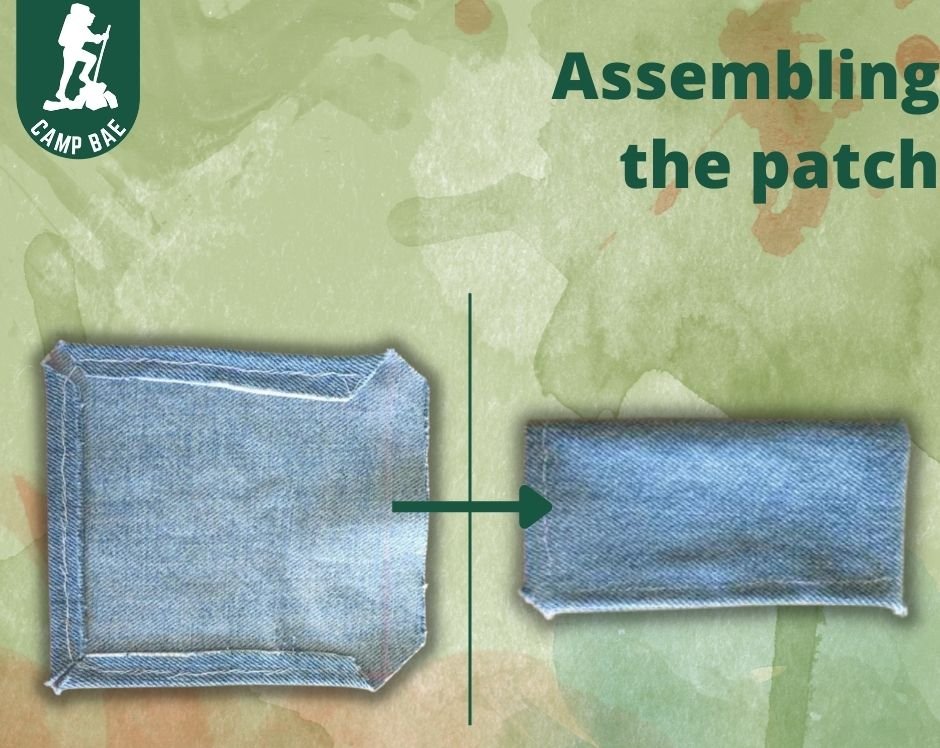
It’s now time to put the patch together. Fold three sides of the fabric in half and sew with a needle or sewing machine. This is to hide the jagged edges of the patch and make it look clean and nice. If you are struggling with sewing then you can read wikiHow’s guide.
Draw a line down the unfolded side. Then fold it half-and-half, with the folded parts facing outside. This is the phase where you must be cautious not to sew through the line. To make the line stronger, double-stitch it. Turn the patch over to the right side.
Attaching the Patch to Your Camping Chair
All that has to be done is to affix the patch to the chair. If this is your first time performing it, you must be cautious of injuring your finger. Because most chair fabrics are thick, a firm push on the backside of the needle is required to get through the fabric. That is why you will be needing a thimble or any hard object to do the job.
Before stitching, gently lay the patch over the ripped portion of the fabric. Using a needle, stitch the patch’s long unfolded edge. If your thread is strong and durable, one-line stitching is sufficient; otherwise, double stitching is required. Maintain the line’s straightness and carefully fasten the ends. And it’s done!
Wrapping It All Up
Viola! You just repaired your torn camping chair back into working position. And you know what’s even better? You probably didn’t even have to spend a penny on buying a new chair just because of a little rip.
Your good old camping partner is ready and as sturdy as it will be for your next camping trip. Since you are here, you could also be struggling with how to keep your camping chair clean, right? Well, why don’t you read How to Clean Camping Chairs & Maintain Them.


